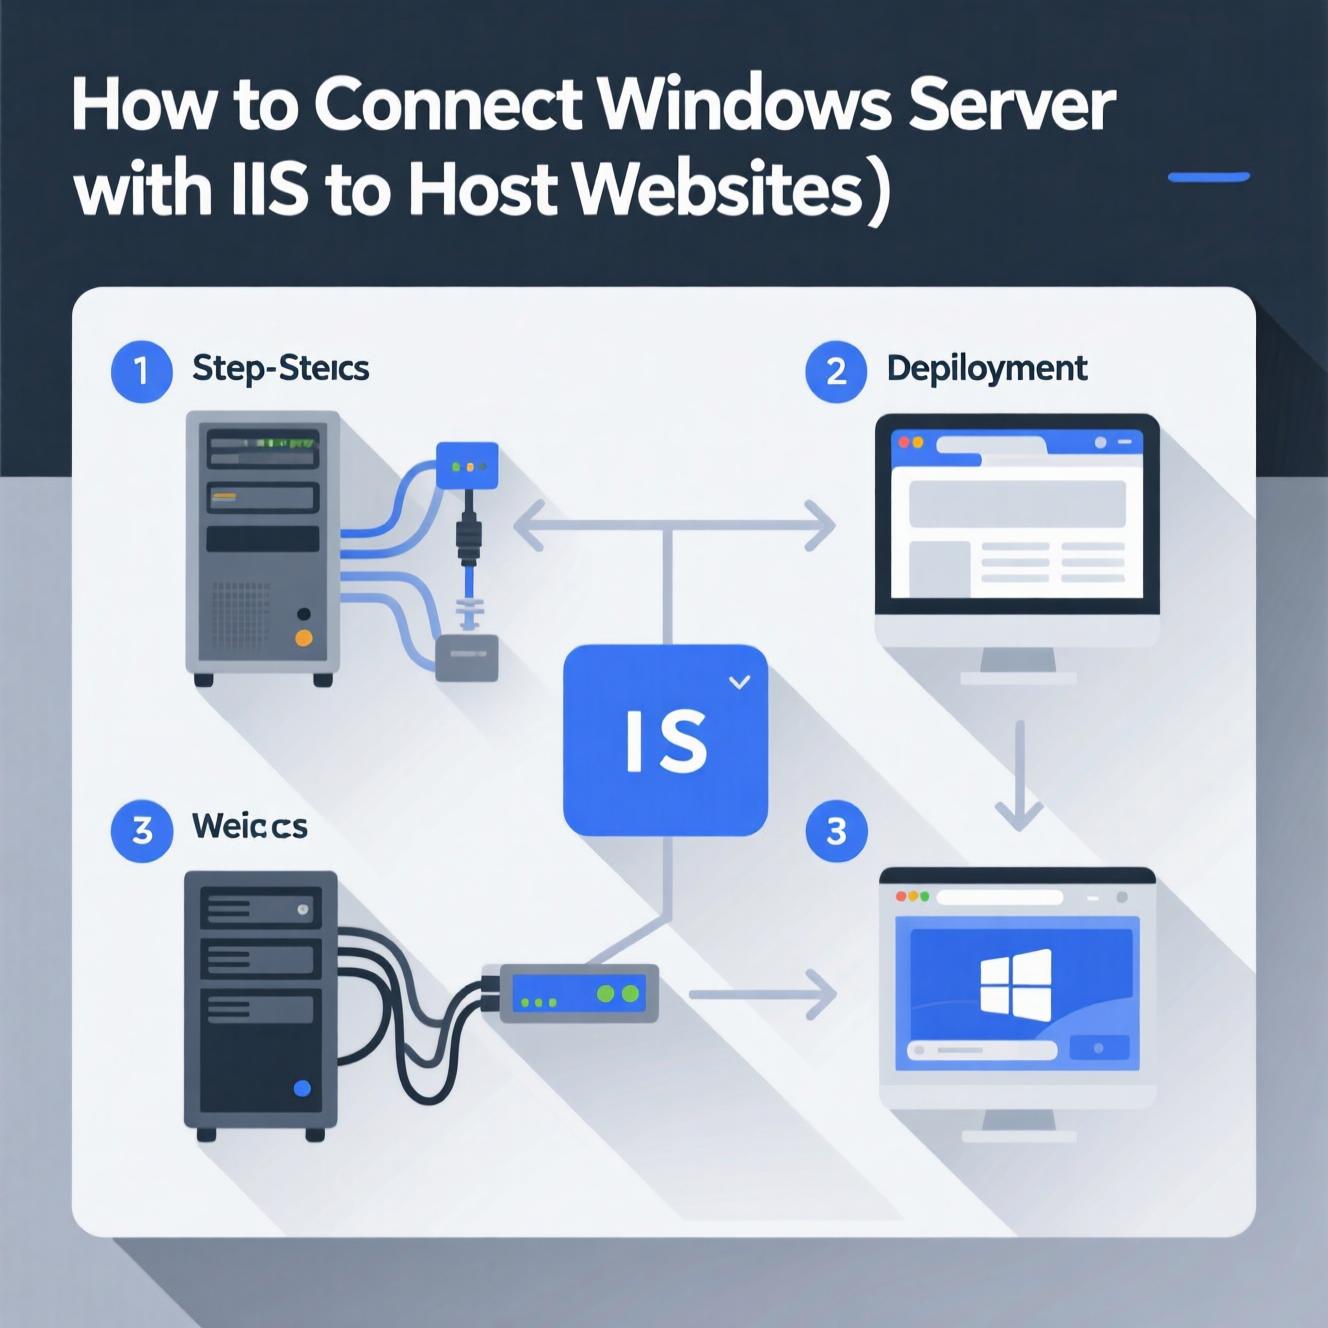
Windows Server combined with Internet Information Services (IIS) is one of the most reliable solutions for hosting websites and applications. IIS allows you to run both Static Websites and ASP.NET applications, while also enabling secure connections using SSL Certificates and HTTPS.
In this guide, we’ll walk through installing IIS, setting up a website (Static/ASP.NET), and finally enabling SSL with forced redirection from HTTP to HTTPS.

Open Server Manager from the Start menu.
Click Manage > Add Roles and Features.
Select Role-based or feature-based installation.
Choose the server from the list.
Enable Web Server (IIS).
Add additional features like ASP.NET or WebSockets.
Click Install and wait until the process completes.
Pros: Easy graphical interface, beginner-friendly.
Cons: Slower compared to CLI.
Open PowerShell as Administrator and run:
For extra features like ASP.NET and WebSockets:
Pros: Faster, supports automation, great for managing multiple servers.
Cons: Requires knowledge of commands.
Open Command Prompt as Administrator and run:
Pros: Lightweight, effective, supports offline images.
Cons: Less beginner-friendly due to strict syntax.
Copy your HTML or PHP files to the default directory:
Open your browser and go to:
The default IIS welcome page or your site should appear.
In Visual Studio, choose Publish for your application.
Select the publishing method:
File System: Copy files directly to:
Web Deploy: Deploy directly to IIS.
Access your application at:
Open IIS Manager.
Navigate to the server > Server Certificates.
Select Create Self-Signed Certificate.
Note: For production, always use a certificate from a trusted Certificate Authority (CA).
In IIS Manager, select your site.
Click Bindings > Add > HTTPS.
Choose the certificate and confirm.
Install and enable URL Rewrite in IIS.
Add a new Blank Rule.
Set a condition:
In the Action section, set it to Redirect:
With Windows Server + IIS, you can host websites and applications easily and securely.
Server Manager: Best for beginners.
PowerShell: Fast and automatable.
DISM: Lightweight and effective.
Finally, enabling SSL Certificates and forcing HTTPS ensures secure data transmission and better SEO ranking for your website.
هل تحتاج إلى Windows VPS سريع وآمن وبسعر مناسب؟
شركة EgyVPS بتوفرلك سيرفرات ويندوز جاهزة للاستخدام فورًا.
تواصل معنا عبر: 201001197157+
أو زور موقعنا: https://egyvps.com