Deploying Java applications on a Linux server is a crucial step for any developer or startup aiming for stability, security, and performance.
While it may seem complex at first, with the right setup and guidance, you can deploy and manage your Java project smoothly.
In this comprehensive guide, we’ll walk you through every stage — from preparing your Linux server to automating deployments — and explain how EgyVPS can simplify the entire process.
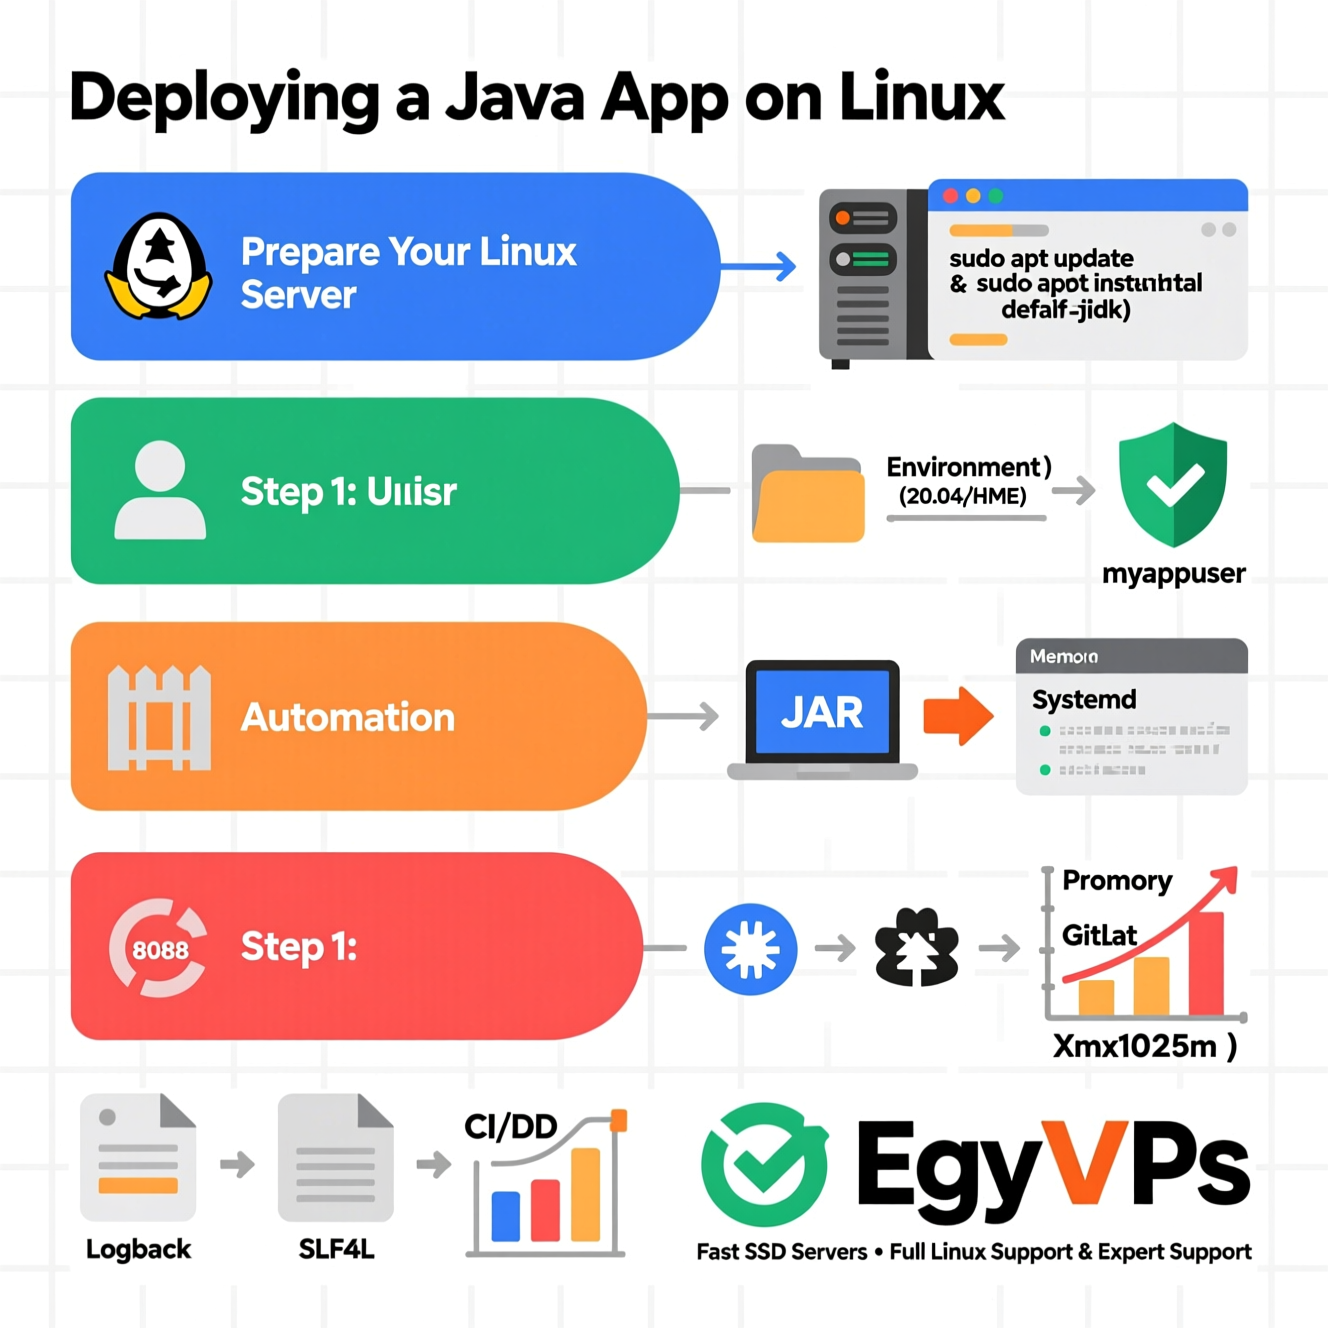
Before deploying your app, set up your environment properly. Whether you’re using Ubuntu 20.04 or 22.04, follow these steps:
Update and Install JDK:
Verify installation:
Set Environment Variables:
Add the JAVA_HOME path to your environment to avoid runtime errors.
Create a Dedicated User:
This enhances security and isolates your application.
Open Required Ports:
Make sure the port used by your app (e.g., 8080) is open:
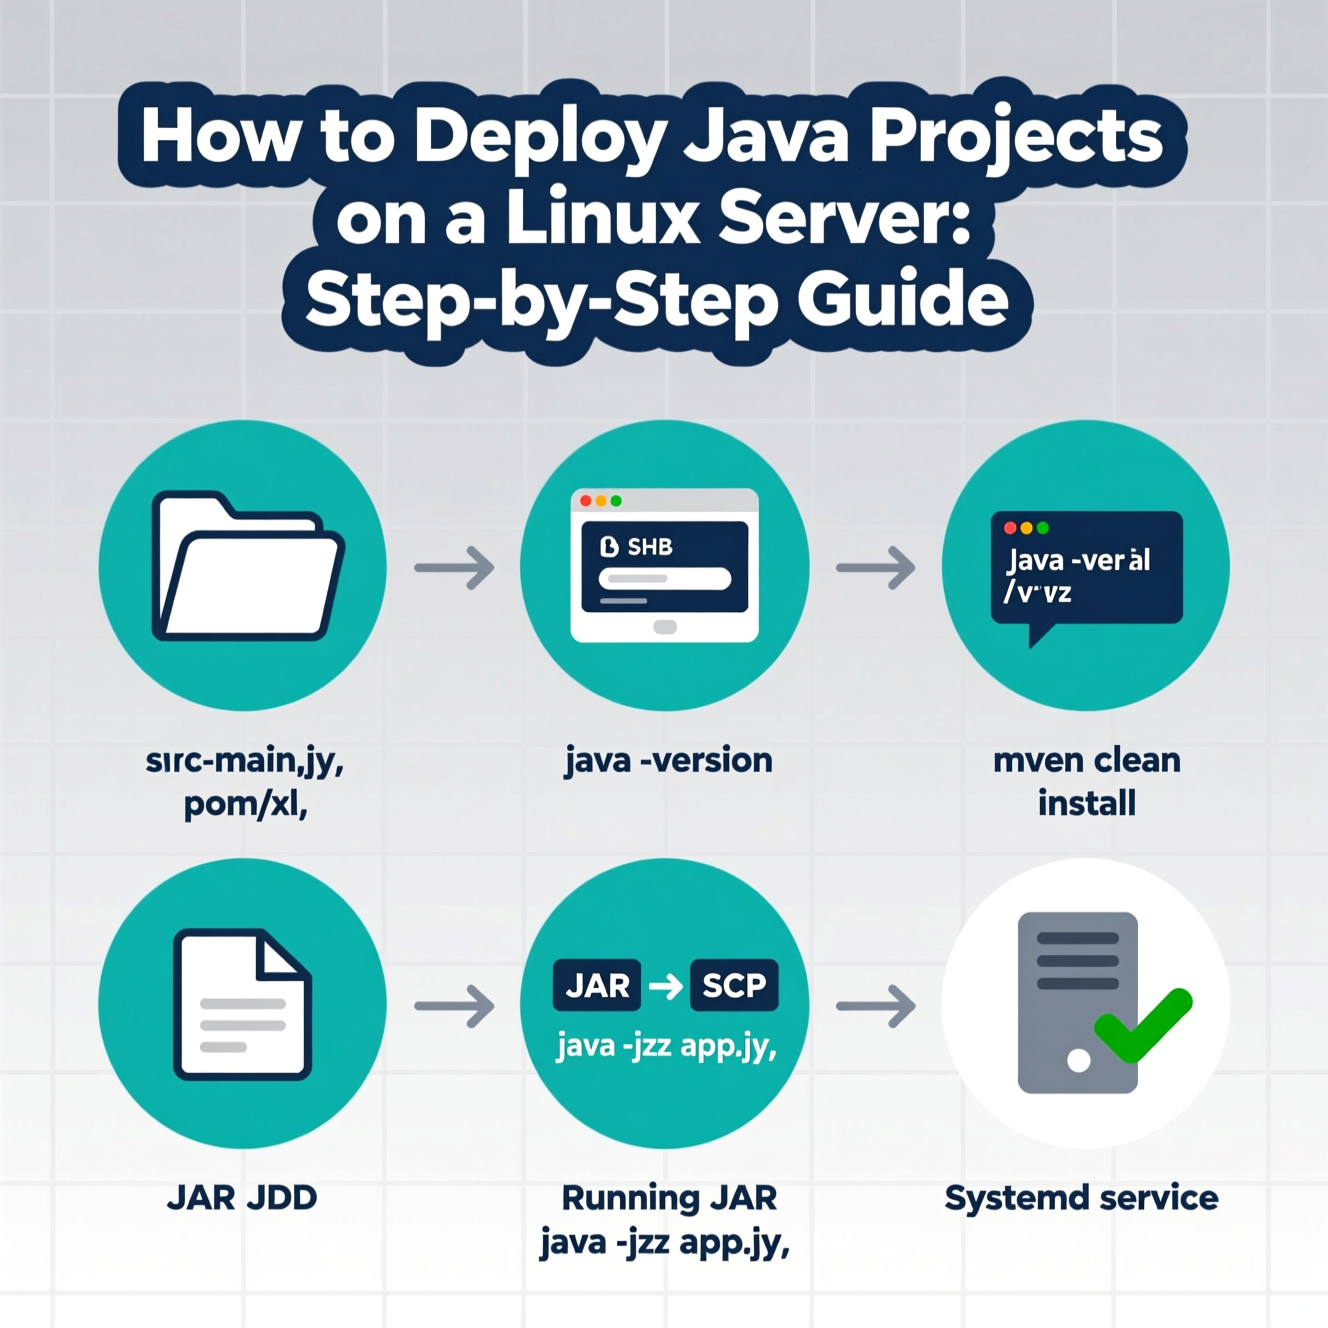
After building your app locally, you need to transfer it to your server:
Build the Project:
Use Maven or Gradle to generate a .jar or .war file.
Upload to the Server:
Organize Files:
Keep your app files under /opt/app for easy management.
To run the app manually:
To make it start automatically on reboot, create a systemd service:
/etc/systemd/system/myapp.service
Enable and start the service:
For larger projects, consider automating deployment to save time and prevent human error.
Use GitHub Actions or GitLab CI/CD to build and deploy your app automatically.
Implement a pipeline to compile, test, and upload your app upon every code update.
Tools like Ansible or Terraform can configure multiple servers consistently.
This approach ensures smooth updates and stable performance.
Once your app is live, you must monitor its performance and logs regularly:
Monitoring:
Tools like Prometheus and Grafana visualize performance metrics.
Logging:
Use libraries such as Logback or SLF4J for detailed runtime logs.
Restart Policies:
Configure Restart=always in your service file to recover automatically from crashes.
Here are some typical issues you might face and how to solve them:
Classpath Errors:
Ensure all dependencies are packaged or declared correctly with -cp.
Permission Denied:
Fix it by running chmod +x on the executable files.
Out of Memory Errors:
Increase memory allocation:
JAVA_HOME Missing:
Set it manually:
Selecting a reliable hosting provider is essential for stable performance.
EgyVPS is an excellent choice because it offers:
Full support for Linux and Ubuntu environments
Fast SSD-powered servers
Easy Java installation and configuration
Professional technical support for setup and troubleshooting
With EgyVPS, developers and startups can deploy and manage Java applications effortlessly.
Deploying Java projects on a Linux server is easier than ever with the right approach.
By following this step-by-step guide — from server setup to automation — you can build a robust and scalable environment for your app.
And with EgyVPS, you get reliable hosting, fast performance, and expert support to back your project’s success.
1. What do I need before deploying a Java project on Linux?
You need a Linux server (like Ubuntu 20/22), JDK installed, open network ports, and SSH access to your server.
2. How can I run a Java .jar file on a Linux server?
Simply use the command java -jar yourfile.jar. For production, configure it as a systemd service to run automatically on startup.
3. What’s the difference between .jar and .war files?
A .jar file is a standalone Java application, while a .war file is designed for deployment on web servers like Tomcat or Jetty.
4. How can I make my Java app start automatically after a reboot?
You can create a systemd service for your Java app, enabling it to start automatically whenever the server restarts.
5. Which hosting provider is best for Java projects?
EgyVPS is a great option because it offers pre-configured servers, technical support, and flexible plans ideal for Java application hosting.
6. How do I troubleshoot Java deployment errors on Linux?
Common issues include incorrect permissions, missing dependencies, or memory limits. Check logs using journalctl or systemctl status.
7. Is it better to deploy Java manually or use a platform?
Manual deployment offers full control, while managed platforms (like Coolify or Heroku) simplify automation and scaling.
هل تحتاج إلى Windows VPS سريع وآمن وبسعر مناسب؟
شركة EgyVPS بتوفرلك سيرفرات ويندوز جاهزة للاستخدام فورًا.
? تواصل معنا عبر: 201001197157
? أو زور موقعنا: https://egyvps.com
") United Arab Emirates (Arabic)
United Arab Emirates (Arabic)") Worldwide (English)
Worldwide (English)