In the fast-moving world of software development, developers are constantly looking for tools that simplify deployment and management.
One of the most exciting open-source tools in 2025 is Coolify — a self-hosted PaaS (Platform as a Service) that combines the simplicity of Heroku with the flexibility of VPS hosting.
Whether you’re a beginner or an experienced developer, this guide will walk you through everything you need to know about what Coolify is, why it’s useful, and how to install it step by step.
Coolify is an open-source Platform as a Service (PaaS) that lets you deploy and manage applications, databases, and services easily — all from a single dashboard.
You can use it to:
Deploy apps written in Node.js, PHP, Python, or Go.
Manage databases like PostgreSQL and MySQL.
Add services such as Redis and MongoDB.
Connect projects directly from GitHub or GitLab.
The biggest advantage is freedom:
You host your projects on your own server (like EgyVPS, Hetzner, or DigitalOcean) and pay only for your VPS — no recurring subscription fees like Heroku or Render.
In short, Coolify gives you Heroku-like simplicity but with full control and zero vendor lock-in.
Before you start installing Coolify, make sure your environment meets the following requirements:
You can use:
A VPS from providers like EgyVPS, Hetzner, DigitalOcean, or Contabo.
Or your local machine if you just want to test it.
It’s recommended to use Ubuntu 22.04 LTS or Debian 11.
Docker and Docker Compose
curl
SSH access to your server
2 CPU cores
2 GB RAM
30 GB storage
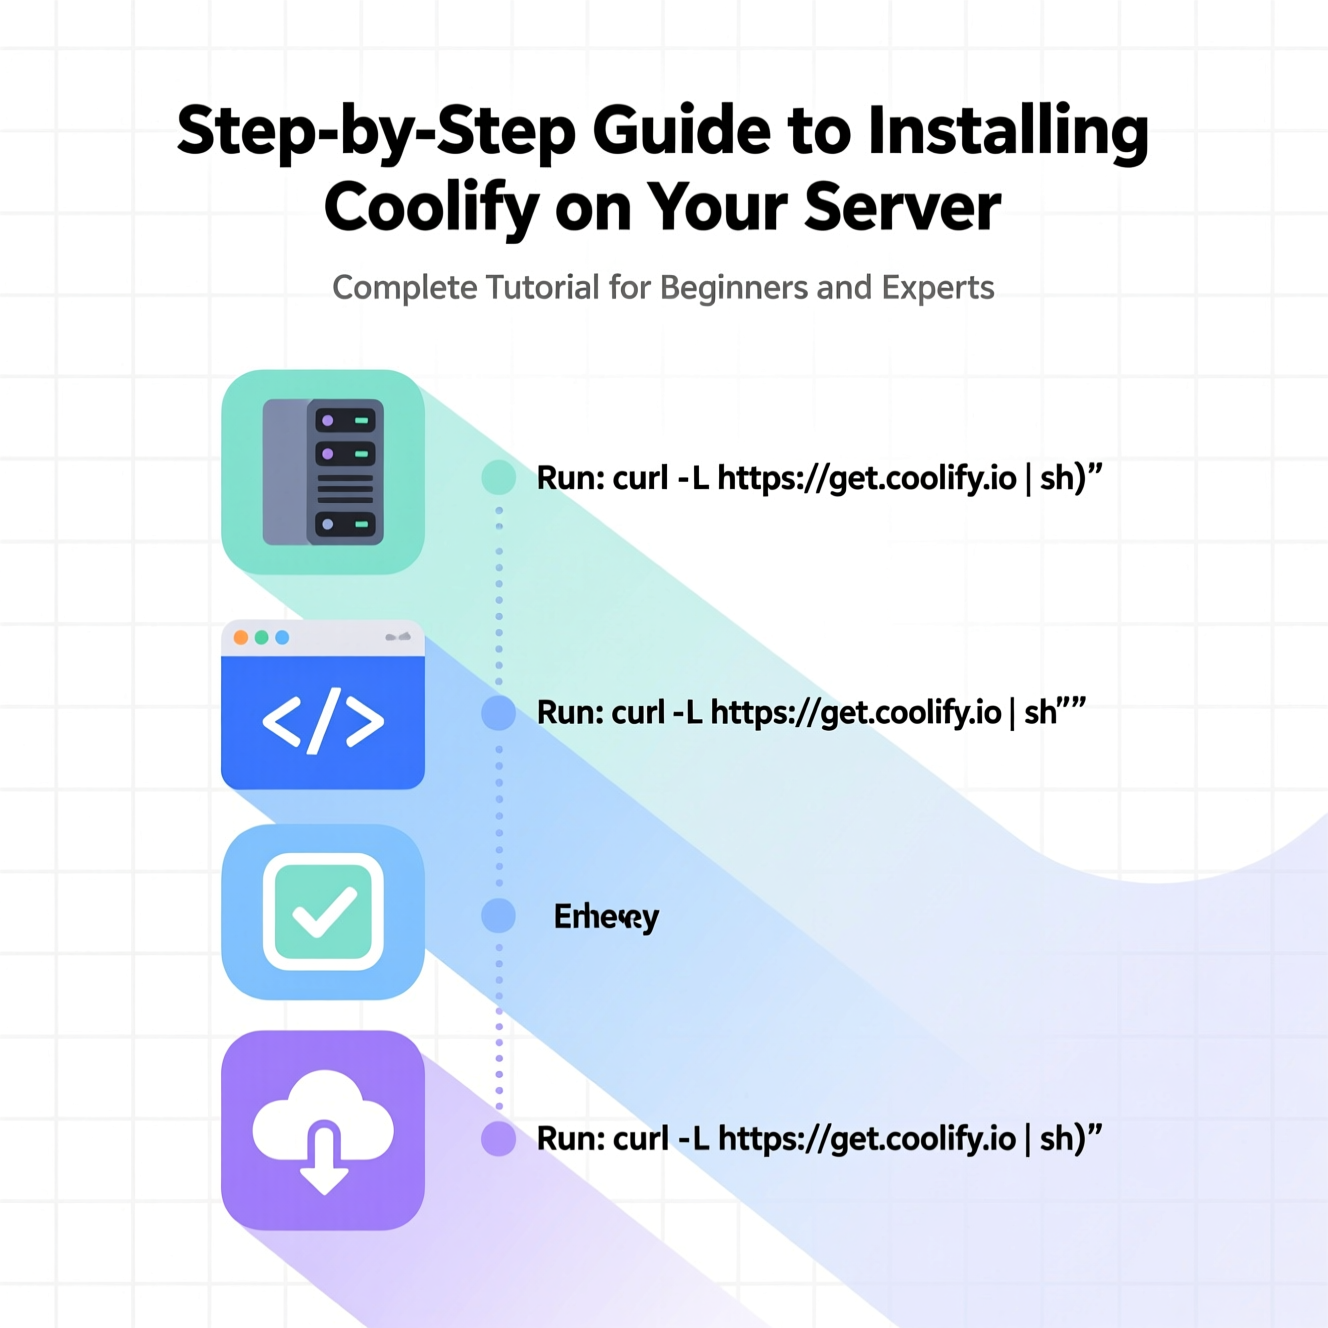
Coolify offers a one-line installation script for beginners who want a fast setup.
Run the following command as root on your server:
Once installed, open your browser and visit:
Create an Admin Account, and you’ll instantly have access to Coolify’s beautiful web dashboard — ready to deploy and manage your apps.
If you prefer full control, here’s how to install Coolify manually:
1️⃣ Connect to your server via SSH:
2️⃣ Install Docker (if not installed):
3️⃣ Create necessary directories:
4️⃣ Download configuration files:
5️⃣ Start Coolify:
After running the containers, open:
Then log in and start managing your deployments from the web interface.
Once installed, Coolify gives you a clear, easy-to-use dashboard to:
Add and deploy new applications
Connect GitHub or GitLab repositories
Create and manage databases
Monitor performance and logs
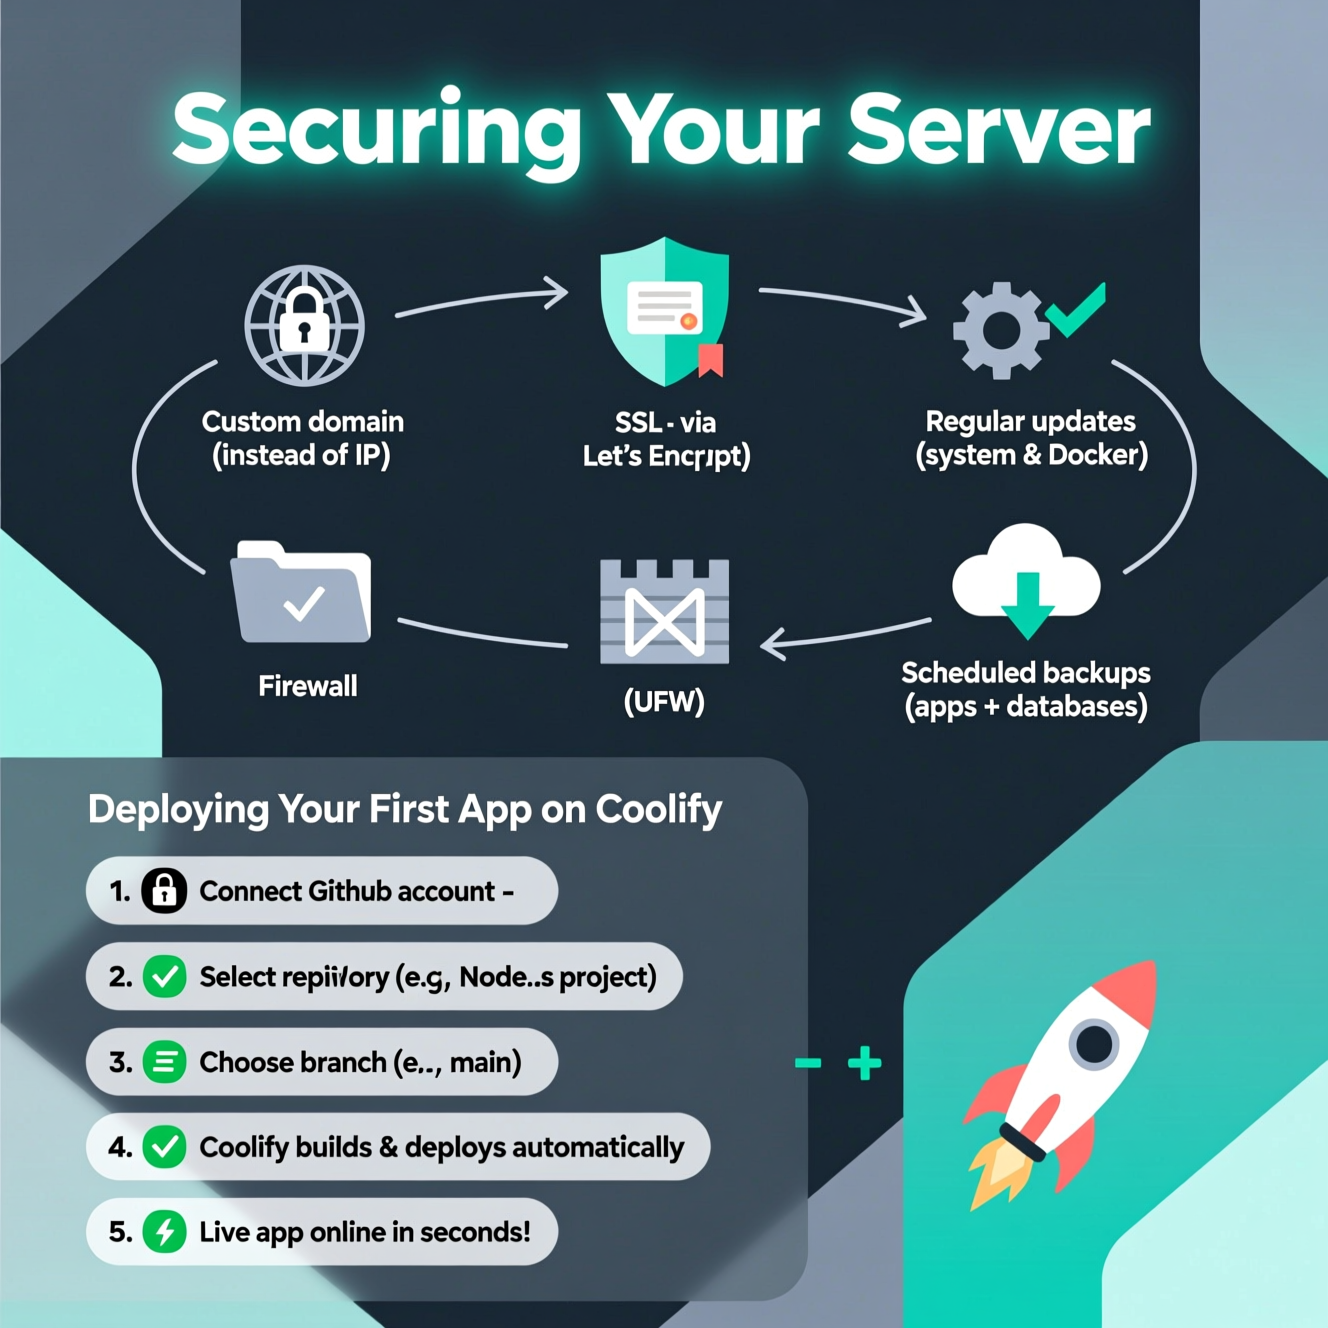
For better security, follow these recommendations:
Use a custom domain instead of an IP address
Enable SSL certificates via Let’s Encrypt
Regularly update your system and Docker packages
Use a firewall (UFW) to restrict open ports
Schedule regular backups of your apps and databases
Now that everything’s ready, let’s deploy your first app:
1️⃣ Connect your GitHub account
2️⃣ Select the repository containing your app (e.g., Node.js project)
3️⃣ Choose the branch (e.g., main)
4️⃣ Coolify will automatically build and deploy your app
5️⃣ Within seconds, your live app will be up and running!
| Feature | Coolify | Heroku | Render |
|---|---|---|---|
| Price | Free (VPS cost only) | Starts at $7/month | Limited free tier |
| Server Control | Full | Restricted | Moderate |
| Docker Support | ✅ Yes | ❌ No | ✅ Yes |
| Self-Hosting | ✅ Yes | ❌ No | ❌ No |
| Ease of Use | Very Easy | Easy | Medium |
| Community | Growing | Large | Medium |
???? Verdict:
Coolify combines the simplicity of Heroku with the flexibility of Docker — making it an ideal choice for developers in Egypt and the MENA region looking for affordable, scalable hosting.
1. Can I run Coolify on my local computer?
Yes, you can test it locally if Docker is installed — but for production, use a VPS like EgyVPS.
2. Is Coolify completely free?
Yes, it’s 100% open-source. You only pay for the VPS.
3. Can I host multiple apps?
Absolutely! Coolify supports multiple apps and databases on one server.
4. Do I need advanced Linux knowledge?
Not really — the quick install script handles most of it, but basic Linux knowledge helps.
5. Is Coolify secure?
Yes, it uses Docker isolation, SSL, and regular updates to ensure high security.
6. Can I integrate GitHub or GitLab?
Yes, Coolify supports auto-deployment directly from Git.
By following these steps, you can easily install and configure Coolify on your own server or VPS.
Whether you’re a beginner or a professional developer, Coolify helps you:
Deploy apps and databases with one click
Replace expensive PaaS platforms like Heroku and Render
Gain full control, better security, and lower costs
If you’re looking for a platform that combines simplicity, freedom, and flexibility,
then Coolify is your perfect solution
زرونا علي موقعنا
او تواصل مع الرقم 01001197157
") United Arab Emirates (Arabic)
United Arab Emirates (Arabic)") Worldwide (English)
Worldwide (English)